
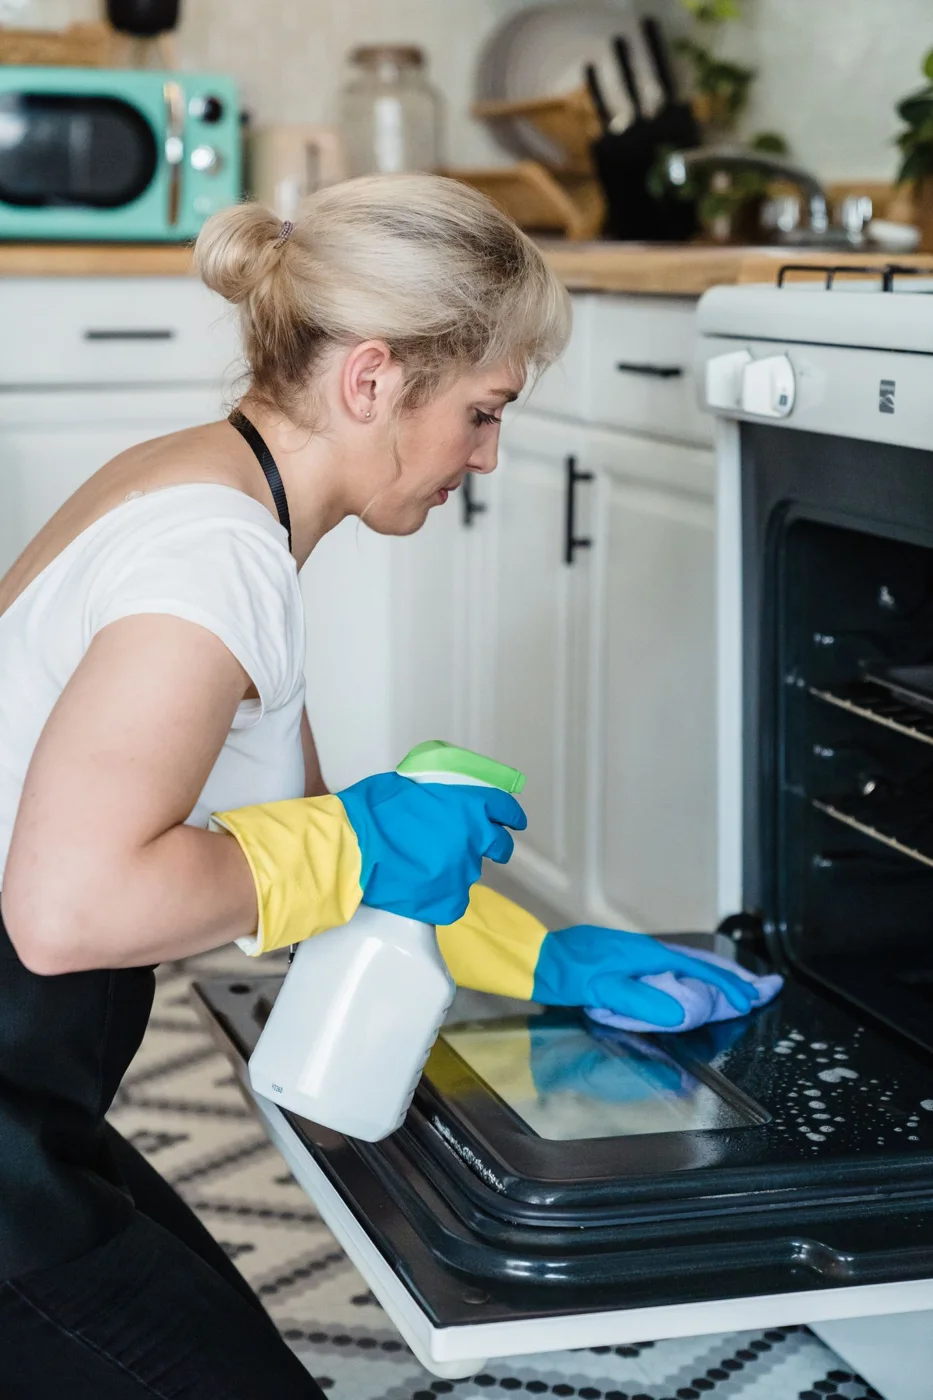
An oven can contain ordinary enamel, a special grease-absorbing liner, coated accessories and several layers of door glass. They may sit a few centimetres apart, but they do not necessarily tolerate the same cleaner. Before you tackle baked-on residue, identify those surfaces. It is easier to change a cleaning plan than to put back a coating that has been scratched or chemically damaged.
This guide is for routine care of a domestic oven in sound condition. It does not cover repairing elements, dismantling a door without instructions or disconnecting an installed appliance. If the oven has a fault, cracked glass or an uncertain electrical condition, stop and arrange suitable advice. A clean interior cannot establish that the appliance is safe to operate.
1. Find the model and check its cleaning instructions
Look for the model information on the appliance or purchase paperwork, then open the relevant manual. You are looking for the cleaning and maintenance section, not merely a general list of features. Note which cavity surfaces, accessories and door parts it identifies. A double oven may have different linings in its two compartments, so check both rather than assuming the smaller one is identical.
Distinguish ordinary enamel from catalytic or other self-cleaning surfaces. A rough-looking panel may have a deliberate function; it is not an invitation to scrub it smooth. Some specialist liners restrict oven cleaners and manual treatment. Steam-assisted and pyrolytic programmes also have their own preparation rules. Read those before using a cleaning mode or applying a product anywhere inside the oven.
If the manual is missing, the Bosch oven support pages illustrate why model-specific guidance matters. Other makers provide equivalent support for their appliances. You do not need to own a Bosch oven to follow the principle: use instructions for the model in front of you, rather than copy a process demonstrated on a different cooker.
2. Make the oven and working area ready
Turn the oven off and allow it to cool before the manual cleaning described here. Do not use the heat to make a chemical product work faster. Protect nearby surfaces as appropriate for the product, keep children and pets away, and arrange ventilation according to its label. Read the precautions, gloves requirement and first-aid information before opening the container, not halfway through the job.
- Take out food, loose utensils and accessories that the manual permits you to remove.
- Keep the product label and appliance instructions available.
- Use soft cloths and non-abrasive tools suitable for the particular surface.
- Keep liquid away from controls, electrical parts and openings.
- Do not mix oven cleaner with another product or a homemade preparation.
Put removable pieces somewhere they can be handled without scratching the worktop, sink or floor. They may be greasy and awkward to carry, so clear a route first. Do not pull out a built-in oven, loosen fixed connections or remove the door merely to gain working space. If safe access is poor, reduce the task instead of improvising around a heavy appliance.
3. Remove loose crumbs before treating grease
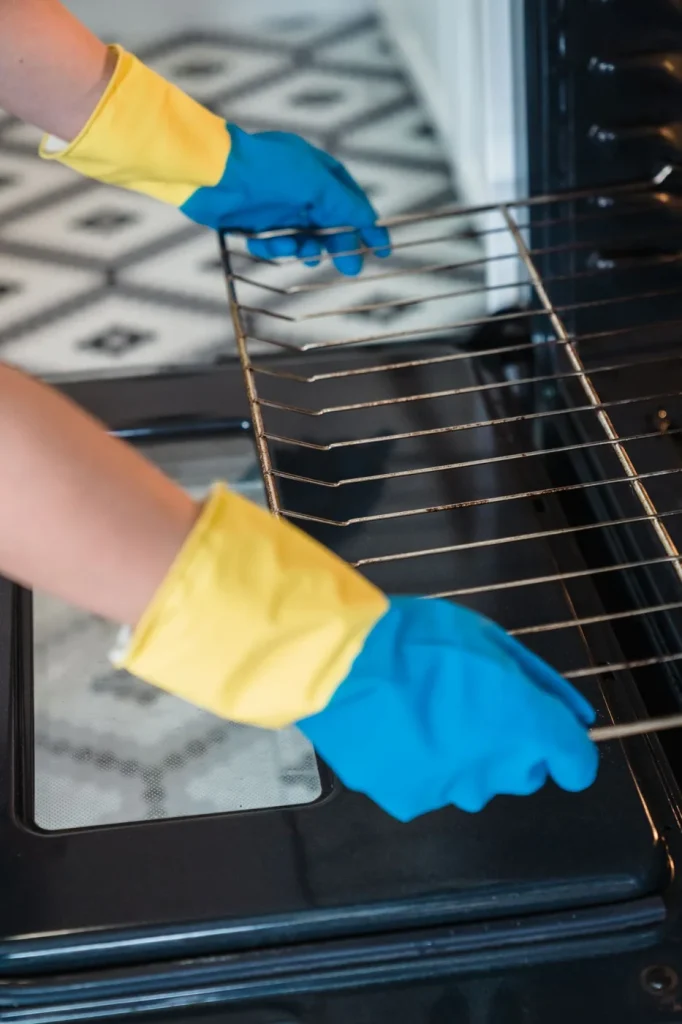
With the oven cool, collect loose crumbs and food debris using a suitable soft tool or cloth. Check folds and accessible corners without pushing a tool behind an element. Removing loose debris first makes the remaining marks easier to assess and prevents it being dragged across the surface. Do not use a household vacuum for material or residue its instructions do not allow.
Look at what remains. A thick food spill, a greasy film and chipped enamel need different responses. Note damage before you apply anything. If the coating is lifting or a part is corroded, trying to make the area match its surroundings by scrubbing harder may worsen it. Cleaning can remove suitable residue; it does not rebuild enamel or replace a damaged rack.
4. Clean racks and trays according to their own care rules
Read the instructions for the removable accessories. A plain rack, a coated tray and a telescopic rail can need different care. Do not assume that every piece can be submerged, put in a dishwasher or treated with a rack-cleaning product. Confirm suitability for the material and any moving parts before choosing a process. Keep unidentified accessories out of strong treatments until their requirements are clear.
For pieces whose instructions allow hand washing, follow the approved method and use a non-abrasive tool where required. Give the chosen cleaner only the working time stated on its label. Rinse or wipe it away as directed, inspect the result and dry the accessory before returning it. Avoid bending a rack or scrubbing away a protective finish in pursuit of a perfectly uniform appearance.
5. Work on suitable enamel, one area at a time
Choose a product specifically permitted for the oven surface and follow its application instructions. Do not extend it onto adjacent liners, seals, lettering, aluminium or heating components unless both the appliance and product guidance allow that. Apply carefully to the intended area rather than spraying freely around the whole cavity. A precise application reduces the chance of residue reaching parts that should stay untouched.
Leave it for the stated period, then remove it using the recommended method. More product and a longer wait are not automatically better. If residue remains, check whether a repeat application is allowed before continuing. Stop if the surface changes unexpectedly or the finish appears damaged. A stubborn patch is a reason to reassess the method, rather than combine cleaners or introduce a scraper.
Pay particular attention to the cleaner’s removal instructions. A surface that looks less greasy can still carry product residue. Use fresh cloth surfaces and the required rinsing or wiping process; repeatedly working with the same dirty cloth can spread residue back. Do not switch the oven on to burn a cleaning product away. Return-to-use conditions come from the product and appliance instructions.
6. Clean accessible door glass without forcing it apart
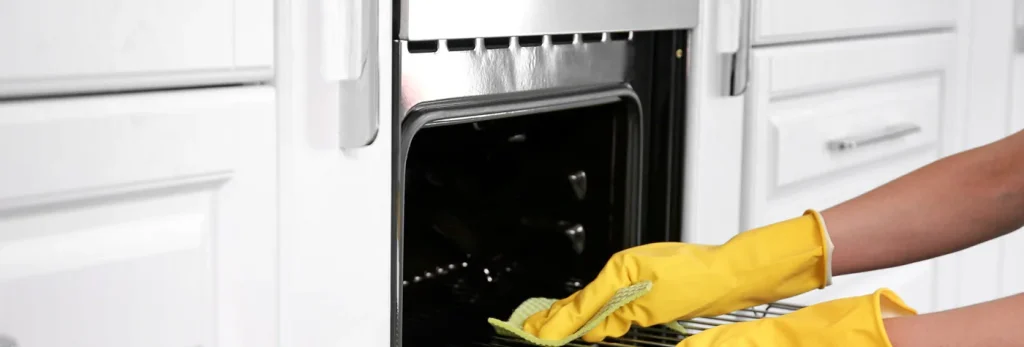
Check that the cleaner is suitable for the glass and the surrounding trim. Use soft, clean materials, keeping gritty debris from being rubbed over the surface. Remove ordinary marks on the accessible faces first. For baked-on residue, use the method specified for that glass rather than a metal blade or abrasive pad. Finish by removing product residue under the relevant instructions.
Marks between panes are a separate access question. Some doors allow specified glass removal; others have a different construction or need service handling. Do not loosen screws based on a video for another model. Door panels can be heavy, and incorrect reassembly matters. If you cannot identify the approved procedure, leave the internal layers alone and ask for suitable help.
Check the door seal under the appliance instructions rather than treating it as another greasy panel. Do not pull, soak or scrub it to make the edge look cleaner. A split or loose seal needs separate attention. Keep product away from material the label excludes, and remember that a small untouched area can be the correct result where a part has a specific restriction.
7. Treat self-cleaning programmes as a separate process
If your oven has pyrolytic, catalytic or steam-assisted cleaning, follow the exact programme instructions, including which accessories must be removed and what preliminary care is required. Do not run a cycle while an unrelated cleaner remains inside. These features are not interchangeable. A setting described as self-cleaning does not mean that every door edge, rack, seal and external panel cleans itself.
The Rangemaster user-guide library is another useful route to appliance-specific instructions. For any brand, avoid choosing a programme solely because a social-media demonstration makes it appear quicker than manual cleaning. Use the manual to decide whether the function addresses the residue you have and how to prepare the appliance safely.
Combination ovens deserve particular care because a microwave or steam function changes what is inside the appliance. Do not transfer a conventional-oven method to waveguide covers, vents or other specialist parts. Identify the exact model and allowed user-care steps. If those instructions do not support the proposed process, leave it out of the routine instead of assuming the ordinary enamel guidance covers everything.
When to stop and ask for help
Stop when the task involves damaged parts, uncertain coatings, inaccessible glass or residue you cannot assess confidently. If you would rather arrange oven cleaning in Guildford, send the model, photographs and accessory count. For a large appliance with several cavities and a hob, identify the configuration through range cooker cleaning instead. An AGA needs its own model-specific cooker care.
Once routine care is complete, check that the approved removable parts are dry and correctly fitted. Keep the manual and product details for next time. Managing a fresh spill once the oven is safe to handle is usually simpler than allowing repeated cooking to build up more residue. There is no need to clean harder than the surface allows simply because one old mark remains visible.