
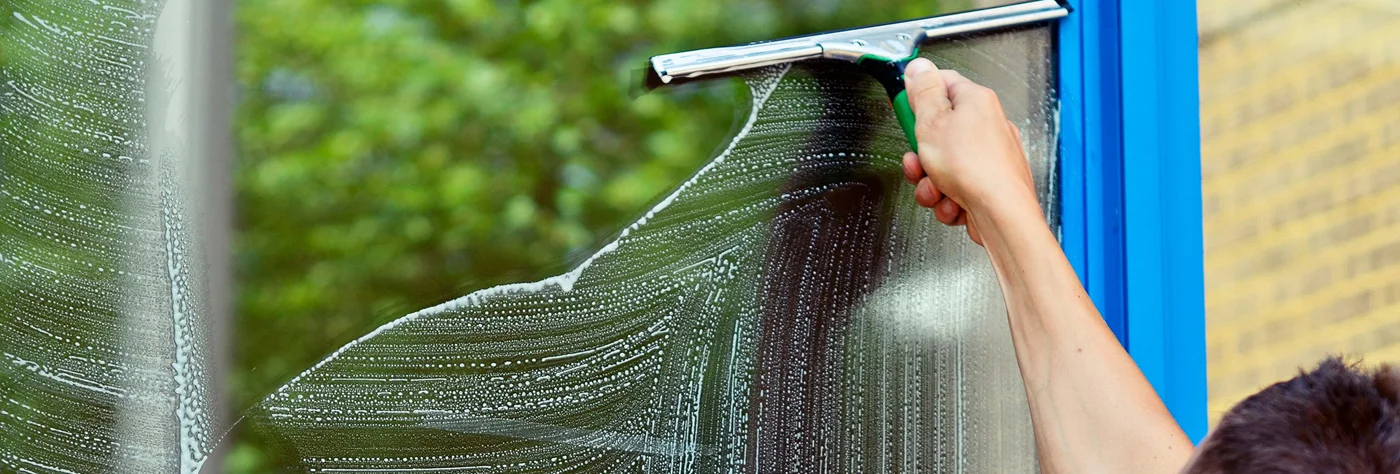
Cleaning a window can become a cycle of wiping, checking it against the light and wiping again. Often the problem is not a lack of effort. A dirty cloth, too much product or moisture gathering at the frame can keep putting marks back onto the glass. Start by controlling those sources, then finish the pane once rather than polishing it indefinitely.
The method below is for sound, accessible domestic glass. It does not require leaning out of a window, using a ladder or reaching over a conservatory roof. Some glazing has films, coatings or specialist care requirements, so check those first. Ordinary surface cleaning will not repair scratches or remove cloudiness trapped inside a sealed unit.
1. Check where the mark actually is
Look from more than one angle before choosing a product. A fingerprint on the room side, weather residue outside and mist between panes can all look like dirty glass from a distance. Clean only the surface you can safely reach. If the mark remains inside a sealed unit, more rubbing on either face will not make it accessible.
Find the glazing or film instructions where possible. If a window has solar-control film, decorative treatment or self-cleaning glass, use its specified care process. Do not assume the cleaner you use on a mirror suits every coating. Identify paint or adhesive residue separately from ordinary dirt; scraping a coated pane to remove it may damage the surface underneath.
2. Choose a comfortable working time
Work when the accessible glass is not being heated strongly by direct sunlight. A surface that dries quickly makes it harder to remove cleaner consistently before marks appear. You do not need a precise temperature or an elaborate weather forecast. If the pane keeps drying before you finish a small section, change the timing instead of adding more product.
Indoors, clear the sill and make room around curtains or blinds without disturbing fragile fittings. Move small ornaments and private items somewhere safe. Use appropriate protection for a moisture-sensitive sill or floor. A window behind a heavy sofa is not a reason to stretch awkwardly with a dripping cloth; arrange safe access or leave that pane for another plan.
3. Prepare clean tools for separate jobs
Keep frame cleaning, wet glass cleaning and final edge drying separate. A cloth used on a dusty sill is not ready to polish glass. Choose soft, lint-free materials suitable for the glazing, with enough clean cloth surfaces to change as they become dirty. If you use a squeegee, check that the blade is clean, intact and appropriate for the window.
- A soft tool or cloth for removing loose frame dust.
- A clean cloth or applicator for the suitable glass-cleaning product.
- A squeegee, if the pane and surrounding space suit that method.
- A separate dry, lint-free cloth for accessible edges.
- The glazing instructions and cleaner label for any restrictions.
Inspect the tools before starting. Grit caught in a cloth can scratch; a damaged squeegee edge can repeatedly leave a line. Wash or replace dirty materials under their care instructions rather than making one cloth serve the whole house. Do not use a scouring pad or an abrasive household powder to turn a soft cleaning tool into a stronger one.
4. Clean the accessible frame and sill first
Remove loose dust and debris from the accessible surrounding surfaces before wetting the pane. Otherwise, moisture can carry it across newly cleaned glass. Keep the method suitable for painted timber, metal or other frame materials, and avoid saturating vulnerable joints. Point out or leave alone damaged seals, loose fittings and flaking finish instead of treating them as stubborn dirt.
Work carefully around opening hardware and drainage details without pushing debris deeper into gaps. A frame clean is not a repair procedure, and hidden mechanisms should not be dismantled to make the glass look finished. Dry accessible moisture where the material requires it. Once the surrounding areas are clean, switch to fresh materials for the glass rather than reuse the dusty frame cloth.
5. Remove grit before trying to polish
Check the pane for loose or abrasive particles. Follow the glazing instructions for safely lifting ordinary dirt with suitable soft materials and a compatible cleaning process. Do not drag dry grit across a coating. Bird residue, building dust and paint flecks deserve particular care; they should not be rubbed harder merely because a cloth has failed to shift them.
For coated glazing, consult the manufacturer before tackling unusual deposits. Pilkington’s self-cleaning glass guidance explains why abrasive methods are unsuitable for its Activ glass. That does not establish a treatment for every other coating. Use the guidance for your own product, especially where residue is left after construction work.
6. Apply a suitable cleaner sparingly
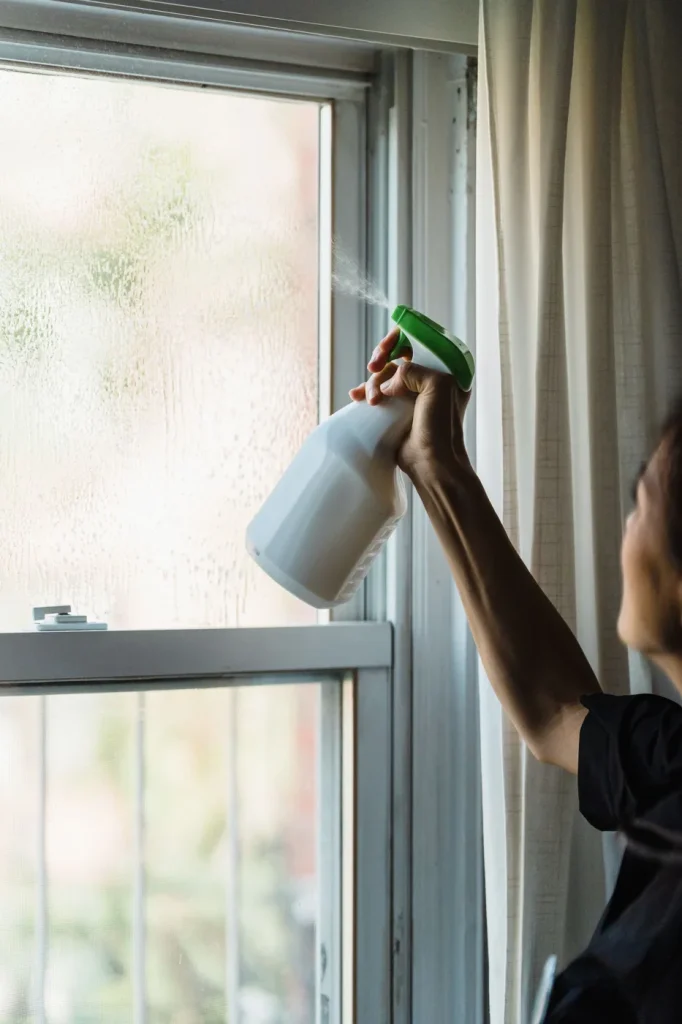
Use a product permitted for the glass or film and follow its label. More cleaner does not necessarily remove more dirt; it can leave additional residue to finish. Do not add another cleaner, vinegar or a household chemical to the product. If the label specifies application to a cloth rather than the surface, follow that arrangement and keep overspray away from nearby furnishings.
Work on a manageable pane or section rather than spraying every window in the room before you start. Keep the cloth face clean and distribute the permitted product consistently. Check corners without forcing liquid into seals or fittings. If the first wipe is picking up visible dirt, use a fresh surface before attempting the final finish.
7. Finish with a cloth or squeegee, not repeated product layers
Using cloths on small or awkward panes
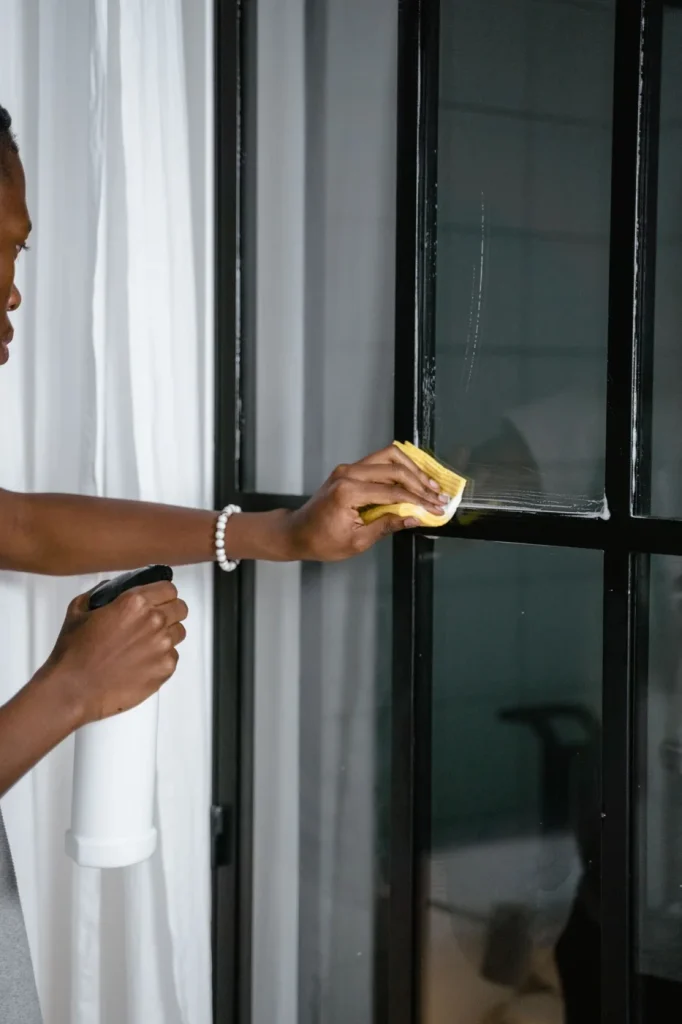
For a small pane, finish under the product instructions with a fresh, suitable cloth. Fold the cloth so you can change to a clean face instead of spreading the same residue around. Avoid pressing a dirty edge into a corner. If lint remains, change the material rather than compensating with more cleaner or repeatedly working the same patch.
Using a squeegee where there is safe space
On a suitable pane, use a clean blade and make controlled, overlapping passes. Wipe the blade with a separate suitable cloth between passes so collected moisture is not carried back. Keep metal tool parts from contacting the glass. You need comfortable access to the whole section; a squeegee is not a reason to overreach or balance on furniture.
Take particular care at the bottom and sides. Moisture can collect there and later creep onto the pane, creating a mark after you thought the job was finished. Use a clean, dry cloth for accessible edges without forcing it into seals. Keep that cloth separate from the wet applicator. Finish the sill as appropriate before leaving the area.
8. Identify a remaining streak before repeating the clean
Let the accessible surface settle under the product instructions, then check it from an ordinary viewing position. A vertical line may match a squeegee pass; a cloudy smear may be residue from a cloth. Change the likely cause first. If you can tell which face is affected, a targeted correction is more useful than washing both sides again.
When both sides can be reached safely, different finishing directions can help locate a remaining mark. For example, horizontal strokes on one face and vertical strokes on the other make the pattern easier to identify. This is a checking aid, not permission to access an outside pane unsafely. Leave external height work to an appropriate arrangement.
If cloudiness, scratching or staining does not respond to an allowed routine method, stop and reassess. Do not keep experimenting with stronger products. Water deposits, damaged coatings and mist inside glazing need different decisions. Take photographs without disturbing fittings and keep a note of products already used; that history helps someone assess the mark later.
Check whether a mark has simply appeared as the last moisture dried at an edge. Use the permitted finishing process on that small area with a fresh cloth, then stop and inspect again. If every correction produces another smear, clean or change the tool first. Repeating the same motion with a dirty cloth usually just moves the residue to a new place.
When the window needs a different cleaning plan
For window cleaning in Guildford, explain the panes, sides, frames and access you want included. A conservatory roof or specialist panel belongs in a separate conservatory cleaning enquiry. If contractors have left residue, describe it under after builders cleaning rather than assuming paint and adhesive are ordinary window dirt.
Between cleans, keep soft tools clean and deal with ordinary fingerprints using the approved routine. Check that frames and sills are dry where required, and report faulty catches or seals separately. Clear glass is easier to maintain when each stage has a defined job: remove surrounding dirt, clean the suitable surface and finish with fresh materials.