
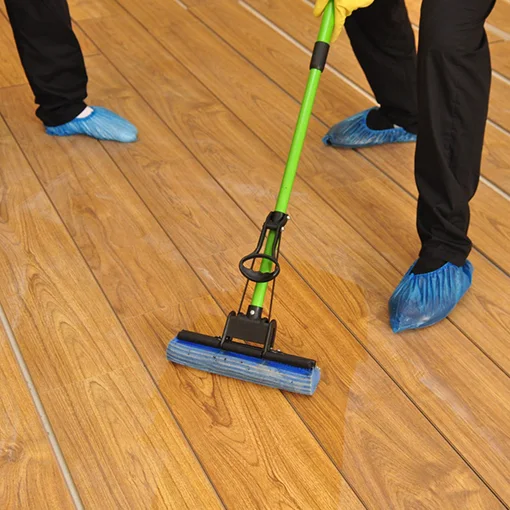
A hard floor may look as though it can withstand a thorough soaking and a strong cleaner. Its finish, seams and installation can tell a different story. Wood, laminate, vinyl, ceramic tile and natural stone do not share one cleaning routine. Identify the surface first, then choose a method that removes the dirt without changing the material you are trying to look after.
Routine cleaning is also different from restoration. A scratch, worn coating or damaged joint will not be rebuilt by a mop. This guide helps you deal with ordinary loose dirt and suitable surface residue. If there is significant damage, uncertain staining or an unknown finish, stop before experimenting and ask for material-specific advice.
1. Identify the floor and its finish
Look at installation paperwork, leftover packaging or the supplier’s care guide. A wood-effect pattern might be printed on vinyl or laminate rather than timber. Even genuine wooden floors can have different finishes, such as lacquer or oil, with different product requirements. Do not select a cleaner simply because the floor resembles a surface shown on the bottle.
Check for maintenance products already used. A polish, wax, coating or earlier cleaner can affect what happens next. If you inherited the floor and do not know its history, record that uncertainty. A discreet compatibility test is useful where the instructions call for one, but it is not a way to override a known restriction or establish that every stronger treatment is safe.
What to look for by material
- For wood, establish the finish and note worn or bare areas.
- For laminate, check the product’s moisture guidance and vulnerable joints.
- For vinyl, identify the floor system and approved cleaner; it is not automatically a waxed surface.
- For ceramic or porcelain tile, consider grout and any surface coating as well as the tile.
- For natural stone, find the stone and sealer guidance before using an unfamiliar product.
2. Decide whether the mark is dirt, residue or damage
Loose grit near the entrance, a sticky kitchen patch and a dull traffic lane need different attention. Start with the least complicated explanation, but do not keep scrubbing if a mark behaves unlike dirt. A scratch through a finish or an etched patch in stone may remain after the surrounding surface is clean. Photograph uncertain areas before applying another product.
Describe what has been spilled and what was used afterwards. If each clean makes the floor hazier, repeated product residue may be involved, but that should not be assumed without checking the finish. Do not jump straight to a stripping product or homemade acid mixture. Removing a coating is a different job from routine cleaning and may affect the floor permanently.
3. Clear a safe working area
Pick up shoes, toys and loose items, and discuss heavy furniture rather than dragging it. Lift suitable small pieces safely instead of scraping them across the floor. Keep rugs aside only if they can be moved without damage, and note whether their backing has left marks. The aim is to reach the area, not to turn preparation into a furniture-moving project.
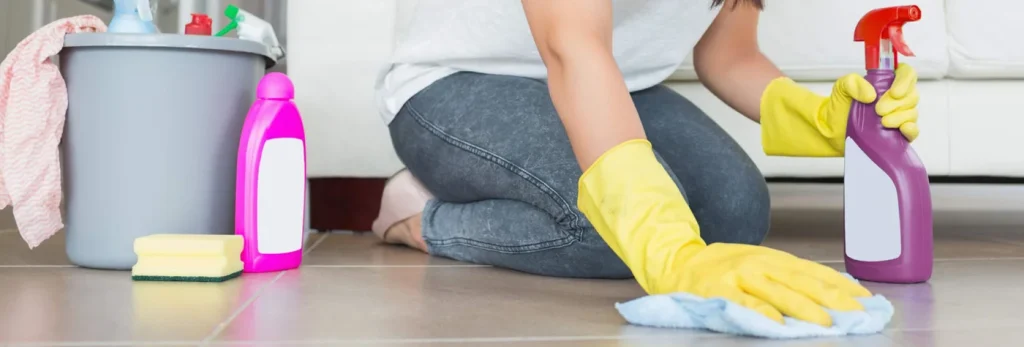
Choose a route that ends at an exit so you do not walk repeatedly over the freshly cleaned floor. Arrange somewhere else for children and pets while the surface is damp. If the hallway is an essential route, clean manageable sections rather than block the whole home. Keep cables, buckets and equipment out of places where someone may trip.
4. Remove loose grit before damp cleaning
Use the dry-cleaning tools permitted for your floor: a suitable soft floor head, broom or dust mop, for example. Check the tool for trapped grit and damaged parts before using it. A hard wheel or unsuitable rotating brush may need a different setting or tool. Follow both the floor and equipment instructions rather than assume every vacuum mode is suitable.
Work along the accessible edges and under safely reachable furniture without forcing the head into gaps. Collect loose debris before introducing moisture. Otherwise, grit can be dragged across the surface and ordinary dust becomes harder to remove cleanly. Take care where flooring meets another material; a threshold may need separate attention rather than a hard push with the same tool.
5. Choose one approved cleaner and follow its dilution
Use a cleaner intended for the material and finish, following its label and the flooring guidance. Ready-to-use products should not be concentrated by adding something else, and concentrates need their stated dilution. More product can leave residue rather than improve the result. Do not mix a floor cleaner with bleach, vinegar, disinfectant or another cleaning chemical.
Keep the product in its original labelled container and use the recommended application method. Avoid spraying towards joints, sockets or furniture. Check whether rinsing is required: leaving a cleaner that must be removed can produce residue, while adding a rinse step to a moisture-sensitive floor without guidance can introduce unnecessary water. The instructions should settle that choice.
Quick-Step’s laminate maintenance advice is a useful example of product-specific care. Check the guidance for your own range, especially when moisture resistance or steam use is mentioned. A feature available on one product does not automatically apply to another floor from the same maker, let alone a similar-looking material.
6. Keep moisture controlled
For a floor whose instructions permit damp cleaning, use the specified method without leaving standing liquid. Wring an appropriate mop or pad as directed and work in small sections. On wood and laminate, avoid flooding joints or repeatedly wetting one patch to force a mark away. If the product requires minimal moisture, that requirement remains important even when the floor looks robust.
Do not assume steam is acceptable because the floor is described as water-resistant or hard-wearing. Use a steam appliance only if the exact floor and equipment guidance explicitly permit the combination and conditions. Natural stone, coatings and vinyl also need their own checks. If you cannot establish approval, choose a permitted routine method rather than test the floor with hot steam.
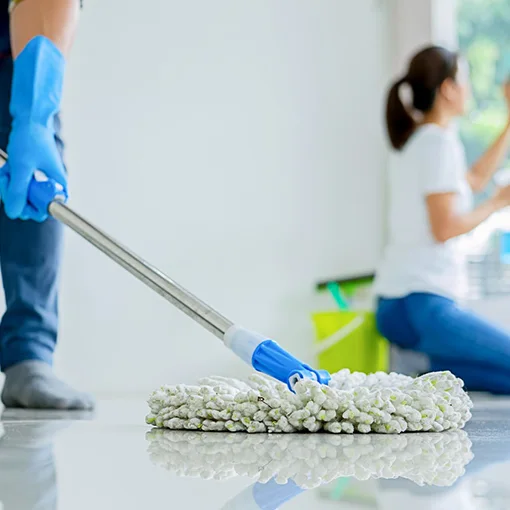
Change or clean the pad when it begins spreading dirt. A dirty mop can leave an apparently streaky finish even with a suitable product. Rinse equipment under its instructions and keep the next pass clean. You do not need to cover a large area at once; consistent care in small sections is more useful than a quick wet pass through every room.
7. Give edges, grout and sticky patches appropriate care
For a local patch, follow the allowed routine treatment and use a suitable soft tool. Do not introduce a metal scraper or abrasive pad simply because the ordinary pass leaves a mark. A sticky spill may need patient, controlled removal, while a stain inside the material needs assessment. Stop if the finish changes, coating lifts or the surrounding surface becomes uneven.
Tile grout is not automatically safe for the same treatment as the tile face. Damaged or deteriorating joints should be reported or repaired rather than worked aggressively. For stone, avoid household acid remedies unless specific maker guidance permits the product and use. An etched patch is damage to consider separately; it is not a reason to apply more cleaner.
8. Let the floor become ready before replacing belongings
Follow drying and return-to-use instructions before putting rugs or furniture back. Do not cover a damp area and trap moisture beneath a backing. Keep the working route clear until the floor is ready, then check for residue in ordinary light. Do not chase a high shine if that was never the finish’s intended appearance.
Bona’s hardwood cleaning guidance also emphasises limiting liquid. Treat that as a starting point for checking your actual floor requirements, not a blanket approval for every product on every wooden finish. Keep the correct care guide with the cleaner so future household maintenance follows the same sensible limits.
Where rooms have different floor coverings, change the care plan at the threshold. Do not carry a tile-cleaning mixture onto adjoining timber just because both areas are part of the kitchen route. Use appropriate clean tools for the next surface, and keep product from collecting along the transition. The same applies to a stone border around another material: each finish keeps its own restrictions.
When a floor needs specialist assessment
If residue, uncertain stains or condition make routine care difficult, describe the material and history when asking about hard floor cleaning in Guildford. Following renovation, arrange the sequence with after builders cleaning so unfinished dusty work does not immediately settle on the floor again. An ongoing household cleaning routine can then include the approved floor care.
Keep entrance grit under control, remove spills using the permitted routine and check that furniture protection suits the flooring. If marks return, note where and after which product. That is better evidence than repeatedly layering treatments. A floor is easier to maintain when you know its material, recognise its limits and separate ordinary cleaning from repairs or restoration.