
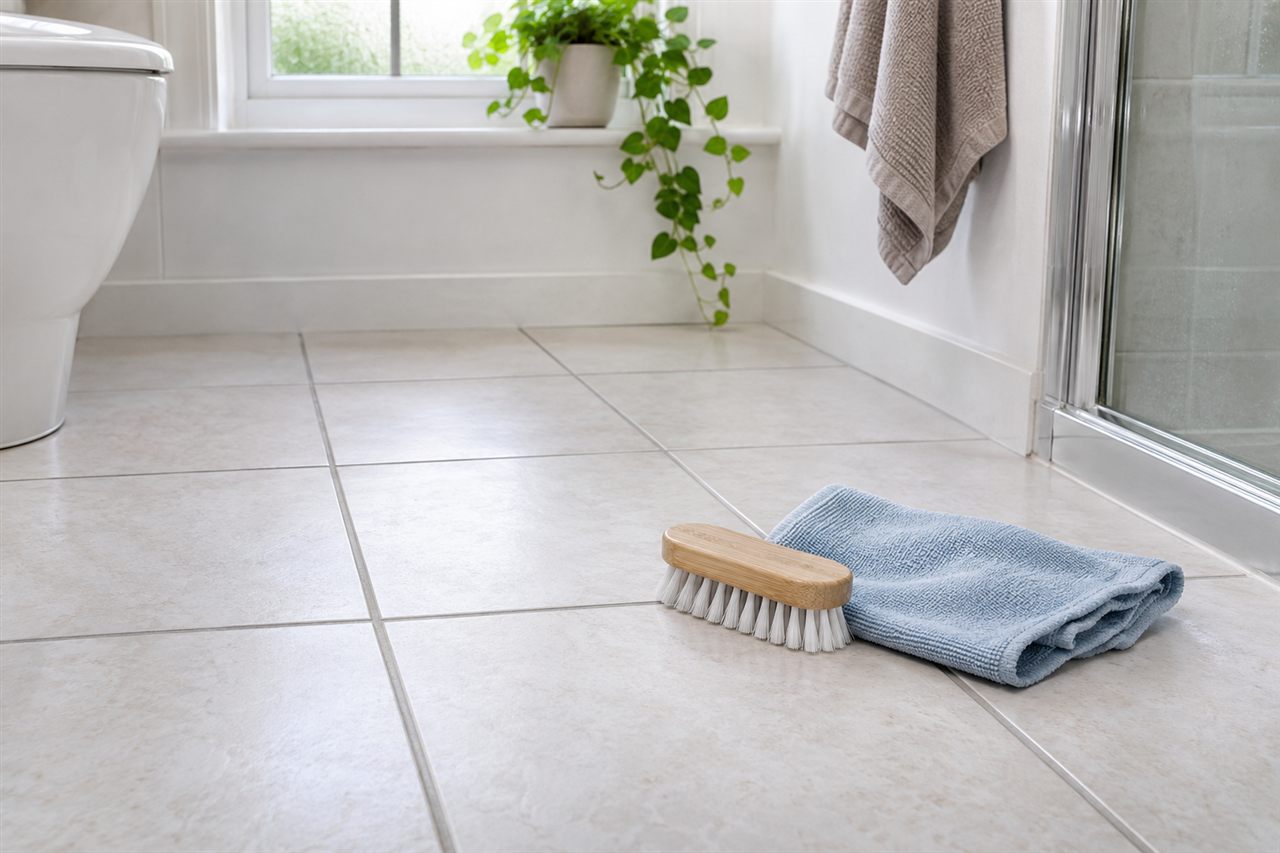
A dark grout line can be ordinary dirt, a stain within the joint or a sign that the grout is breaking down. The tile beside it may be glazed porcelain, natural stone or another finish with different limits. A strong cleaner aimed only at the line can still reach both surfaces. Before scrubbing, identify the installation and decide whether you are cleaning sound grout or looking at a repair problem.
Identify tile, grout and sealant
Find any installer paperwork, product labels or spare materials. Cement grout, epoxy grout and flexible sealant are not interchangeable. The tile face may have a coating, while natural stone can be sensitive to acidic products. Do not infer the material from colour alone. A white tile may be ceramic or stone, and a pale line at a corner may be silicone rather than grout.
LATICRETE’s care guidance notes that acidic, alkaline, abrasive and bleach based cleaners can damage some tile, stone, grout or applied sealers. Its recommendation to test a cleaner in a small inconspicuous area is useful, but a test does not make a product safe where the maker expressly rules it out. Use instructions for the actual installed materials and cleaner.
Decide what the mark represents
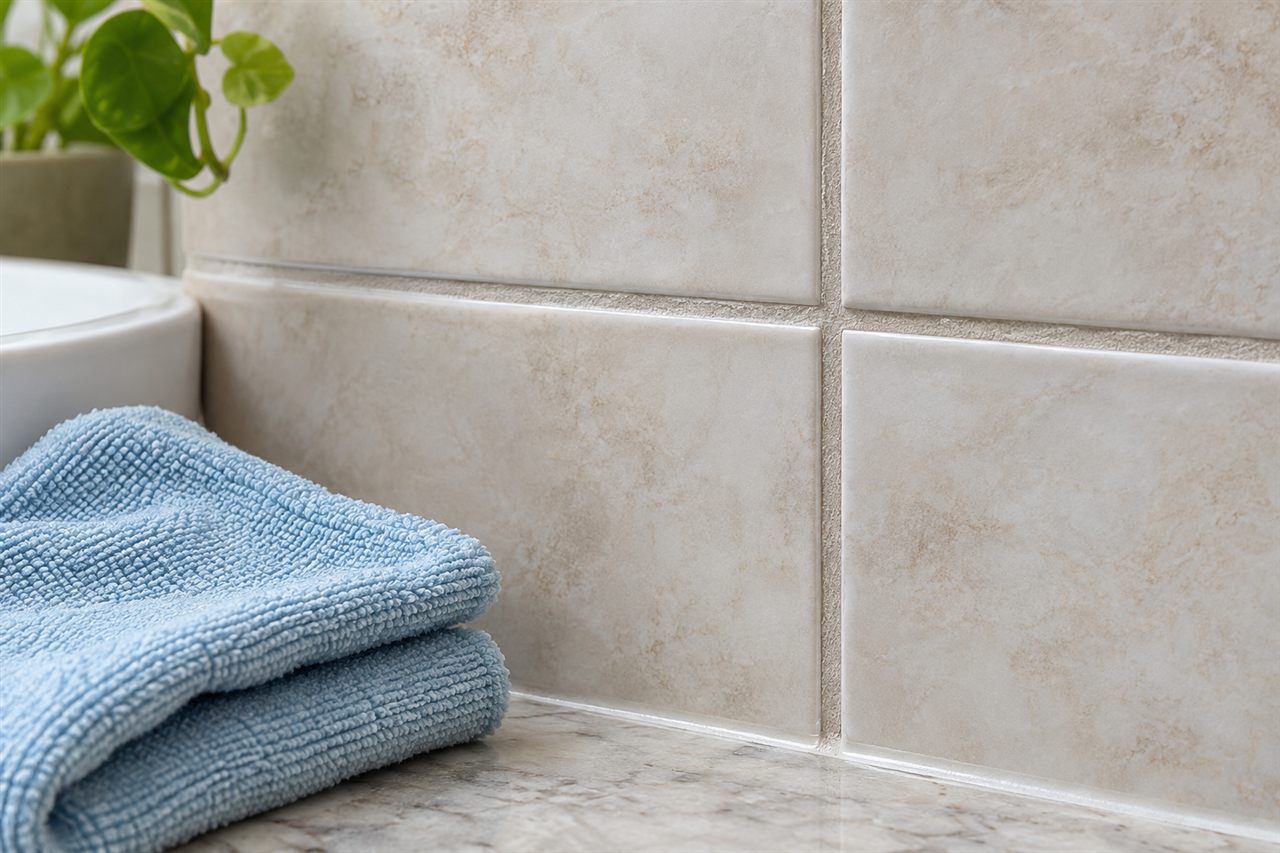
Look at the line in ordinary light. Loose dirt often sits on the surface; darkening within the joint may behave differently. A cracked, missing or powdery section is not a stain to be removed by more pressure. Record where the change occurs and whether water or movement is involved. A recurring dark area near a shower may need a moisture or repair assessment.
Do not use a metal tool to dig a mark out. Damaging the joint can leave gaps that collect more dirt or allow water where it does not belong. If sealant is peeling, plan a repair rather than treating it as grout. Cleaning should preserve a sound joint, not disguise a failed one for the next few days.
Prepare a small test area
Remove loose dust, hair and debris with a suitable dry tool. Protect nearby fittings and keep children and pets clear. Choose one cleaner permitted for both the grout and adjacent tile, then read its dilution, contact time, removal and protective-equipment instructions. Test where the maker asks, allowing the area to dry before judging colour, texture and sheen.
Take care near natural stone. LATICRETE explains that an etched patch may resemble a water mark on susceptible polished stone. Vinegar, lemon juice or a household descaler can create a new problem instead of cleaning a line. If the tile or sealer is uncertain, ask for material-specific advice before applying a product over the whole installation.
Clean with controlled pressure
Use the tool permitted by the grout and tile guidance, often a soft or suitable non-metal brush. Work on a manageable section so the product is not left beyond its stated time. Keep strokes controlled along the joint rather than scraping the tile edges. Do not combine products or add bleach to an earlier cleaner. A stronger smell is not evidence that the method is working.
Lift loosened residue with a clean cloth or other approved method. Rinse or wipe away the cleaner exactly as directed. Change dirty water and cloth faces so you are not spreading residue back across the tile. Dry the section if the installation guidance requires it, then assess it under normal light. A wet joint can look temporarily darker than it will when ready.
Give floors a usable route
On a floor, choose an order that leaves an exit and keeps people off damp areas. Loose grit should be removed before wet treatment so it is not dragged across the tile. Do not flood joints or allow cleaner to sit at thresholds. The Health and Safety Executive notes that wet cleaning itself can create slip risks; a warning sign alone may not keep a household route usable.
Move light items safely and discuss heavy furniture rather than scraping it over tile. If grout is worn beneath a frequently used chair, record the wear and consider repair advice. A cleaner cannot rebuild missing material by repeating a wash. Let the floor dry as directed before replacing rugs or allowing normal traffic.
Keep bathroom corners separate
Shower corners and changes of plane often use flexible sealant rather than cement grout. Check the installation before applying a grout cleaner to them. A dark spot may involve surface residue, staining or damp behind a failing joint. Do not cut or pull sealant as part of routine cleaning. If it is detached or cracked, the correct next step may be repair and investigation of water exposure.
Keep toilet products, descalers and other chemicals separate from the tile-cleaning task. An earlier product may remain in a shower tray or on a cloth. Finish and remove one treatment under its label before beginning another. If you cannot establish what was used, do not layer a new cleaner onto it.

Recognise the limits of cleaning
Stop if a joint crumbles, colour transfers unexpectedly, a tile finish changes or a patch grows. Photograph the area and note the product and tool used. Repeated scrubbing may remove grout faster than it removes an embedded stain. Discolouration can remain after suitable care, while an etched tile needs a different decision from a dirty joint.
A useful record can also prevent the same failed approach being repeated. Note which cleaner was tested, its dilution, where it was applied and how the area looked after drying. Record whether the line was stained before a renovation or changed only after a new product was used. If you later request a quotation, share those facts rather than asking for a guaranteed colour match. The condition of the original grout, tile and sealer determines what can be cleaned safely, while replacing a joint is a separate decision to make.
For a larger floor or uncertain finish, ask about hard floor cleaning in Guildford and describe the tile and grout together. A deep cleaning visit can address broader build-up by agreement, but it does not replace damaged grout or failed sealant. Send photographs showing the whole area and a close view, plus any installer information.
Make maintenance easier
Deal with ordinary spills using the material’s permitted routine, and keep gritty debris from sitting in joints. Store the approved cleaner and care instructions together so the next person does not choose a bathroom product by guesswork. If a line darkens soon after it is cleaned, note the pattern and look for a moisture or wear issue rather than increasing chemical strength.
A useful result is a sound joint cleaned without changing its neighbouring tile. When the surface still looks uneven, separate remaining staining from missing grout, damaged sealer and stone etching. That distinction helps you ask the right person for the next step and protects a finish that may be more delicate than the grime first suggested.