
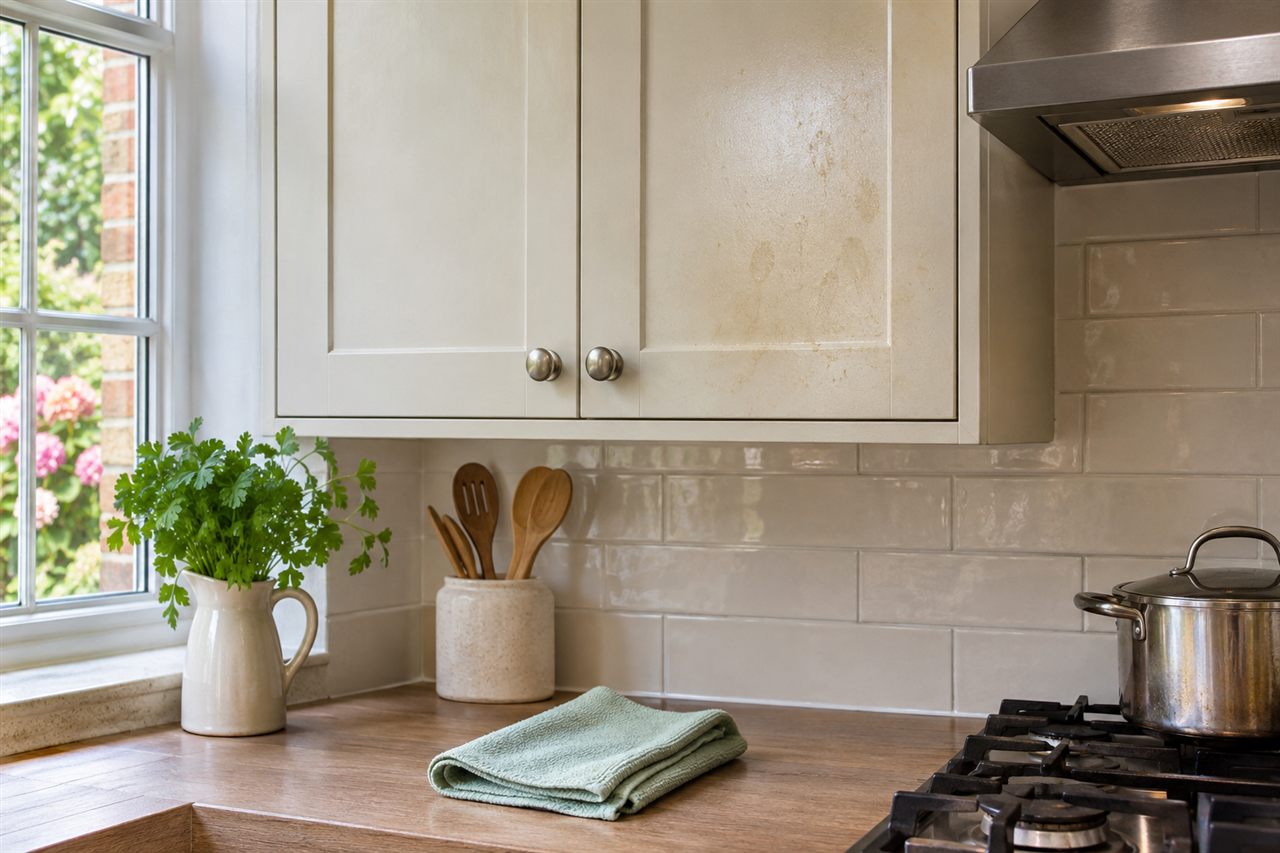
Kitchen cupboard fronts can gather a thin greasy film long before they look obviously dirty. The areas near a hob, handles and the underside of wall cabinets often show it first. Removing that film calls for controlled care, because a painted or foil finish and its edges may be less tolerant of moisture or strong chemicals than a worktop. Identify the front and its maker’s instructions before choosing a cleaner.
Find out what the front is made from
Check the kitchen order, product label or installer information. A smooth door might be lacquered, laminated, wrapped in foil or made from finished timber. A gloss surface and a matt surface can show marks differently. Do not treat all doors alike because they share a colour. Hardware, glass panels and open shelving may need separate methods.
IKEA’s UK kitchen care guidance recommends a soft damp cloth and cleaning agents intended for its cabinet materials, followed by a clean rinse and drying. Howdens similarly advises a slightly damp cloth for its frontals. These are examples of maker specific care, not permission to apply one process to every fitted kitchen. Use the guidance for the actual front in your home.
Look at the grease before wiping
Identify the worst area without pressing a finger across several doors. Near a cooker, grease may have mixed with dust; around handles, hand marks can leave a different film. A soft dry cloth can lift loose dust before the damp stage. Keep crumbs and grit from being dragged across a gloss or painted finish. Note lifting foil, chipped paint or swelling at an edge before cleaning.
A damaged edge may let moisture reach material beneath the surface. No cleaner will bond a loose wrap back into place. Photograph the condition and seek repair advice. Avoid trying to hide it by polishing the whole door more vigorously, which can make a finish uneven.
Make space without stripping the kitchen
Clear the worktop beneath the fronts and move small appliances where it is safe to do so. Protect food and utensils from falling residue. If you will reach a high unit, use a safe working arrangement; do not balance on a stool or stretch across a hot hob. Keep the cooker off and cool while working around it.
Decide whether handles and the underside of upper cupboards are included. A cleaning visit becomes slower when every drawer must be emptied unexpectedly. This guide is for exteriors. Interior shelves, hinges and a full storage clear-out should be listed separately, particularly if belongings need sorting before someone else can clean them.
Test one small area
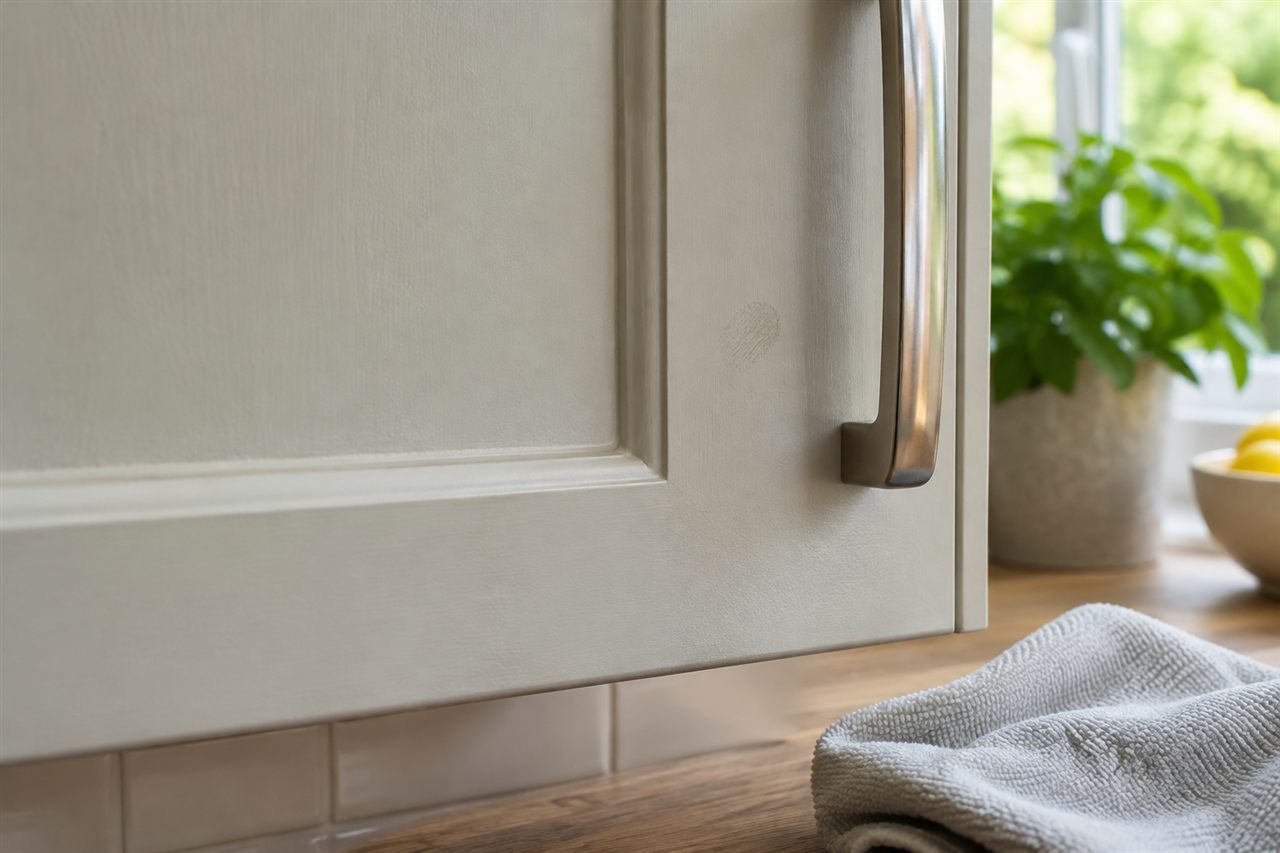
Choose a cleaner permitted for the door finish and follow its dilution and application directions. Use a clean soft cloth with controlled moisture. Where the maker asks for a compatibility test, choose an unobtrusive spot and let it dry before judging colour and sheen. Do not use a successful test to ignore an explicit warning against a chemical.
IKEA cautions against ammonia, alcohol, bleach and abrasives for the cabinet care described in its guide. Howdens warns against abrasive cleaners, solvents and wax polish for its frontals. A kitchen degreaser marketed as powerful may therefore be unsuitable for a particular door. Never mix it with another product or leave it in place longer than its label allows.
Work in manageable sections
Start where the grease is light enough to confirm that the method is effective. Wipe a small area without saturating it, following the maker’s advice on direction or motion. Turn to a clean cloth face as residue transfers. Do not spread grease across the whole door with one dirty cloth. Keep liquid from running into the bottom edge, handle holes or a joint.
Remove cleaner as instructed, then dry with a separate soft cloth. Check the result in normal light after the finish has settled. A remaining line may be old wear, a damaged coating or product residue. If another permitted pass does not improve it, stop rather than increase pressure. Repeated scrubbing can turn a local patch into a broader dull area.
If a particular door stays tacky after a suitable clean, check whether a previous polish or adhesive has left residue. Do not assume grease is the only possible cause. Keep a note of products used by the household and of any repainting or repair. A finish that reacts to a mild cleaner needs assessment before the rest of the kitchen is treated the same way. It is better to stop with one small unresolved area than to repeat the reaction across every front.
Give handles and edges their own care
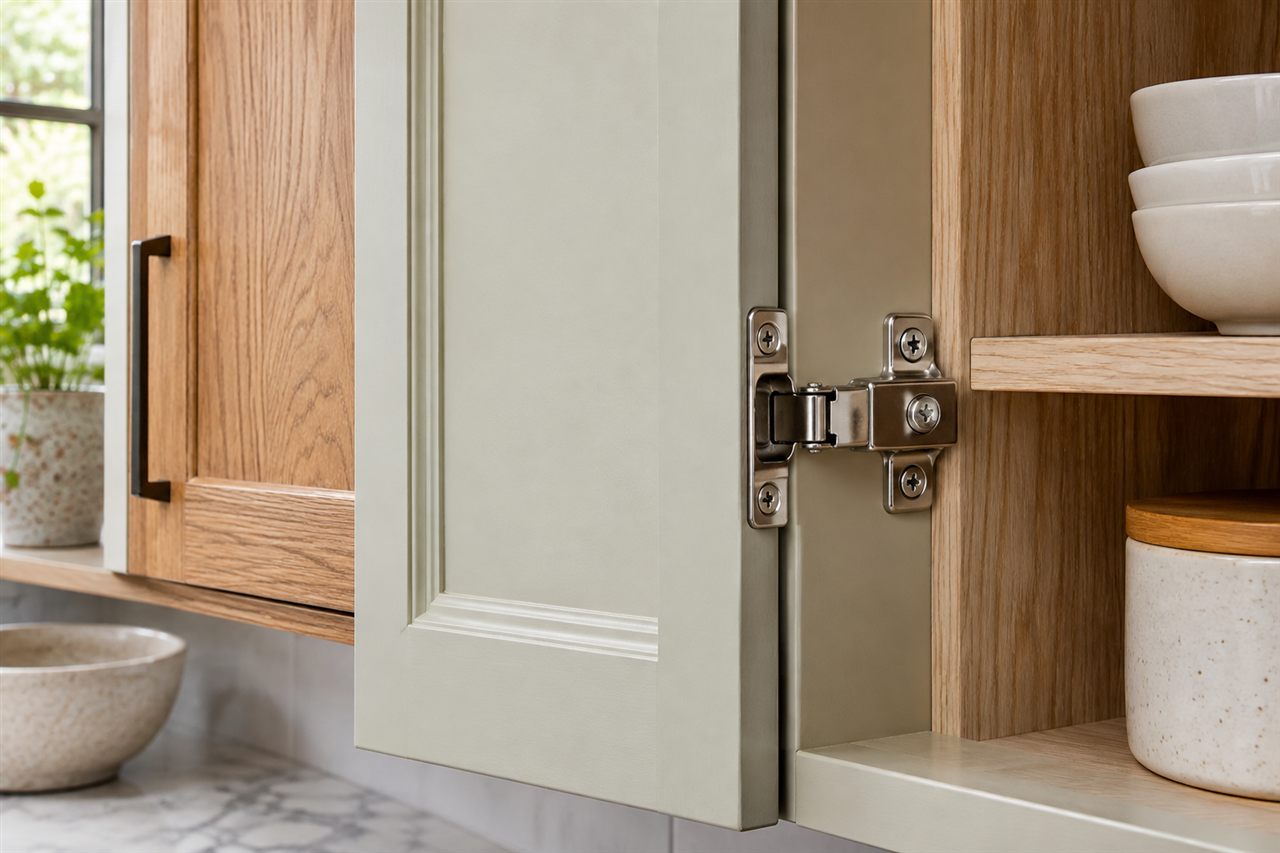
Use the handle maker’s instructions where available. A metal pull, painted knob and timber grip do not automatically suit the door cleaner. Apply product to a cloth rather than spraying the fitting and surrounding joint. Clean accessible edges gently without probing into hinges or forcing a narrow tool behind the door.
Steam from a kettle or dishwasher can affect some cabinetry over time. IKEA’s cabinet guidance warns about heat and high humidity near its fronts. If an edge has swollen or a coating has lifted, note the source of repeated moisture and seek appropriate repair advice. Surface cleaning cannot reverse a damaged substrate.
Keep nearby surfaces separate
A tiled splashback, stone worktop and extractor hood may all sit beside the same greasy door. Do not carry one cleaner across them automatically. Change cloths and follow each material’s instructions. A hood filter is an appliance part with its own maintenance method; washing it is not the same as wiping a cupboard front.
If the grease is extensive, note exactly which fronts and undersides are affected. A photograph of the whole kitchen helps show access and the number of units; a close view shows the finish and residue. Describe any delicate paint, loose wrap or damaged hinge before a provider quotes for the work.
Start with upper fronts, then lower doors, leaving the floor until dust and residue have been dealt with. Keep a clean cloth for the final pass around handles. Move a chair or bin only when it can be done safely, and put it back after surfaces have dried. This is a practical sequence, not permission to reach unsafe heights.
Keep the next build-up smaller
Wipe fresh cooking splashes with the approved routine instead of waiting for a thick film. Check handles and the units nearest the hob during ordinary kitchen cleaning. Keep one suitable cloth and the care guide accessible, and avoid storing an unlabelled degreaser beside the sink. If several people clean, agree which product belongs on which front.
For a more detailed kitchen visit, discuss the material and affected units under deep cleaning in Guildford. A focused one-off clean can be scoped around accessible fronts by agreement. Neither name implies repairs to foil, hinges or paint. A useful clean removes appropriate grease while leaving the finish, edges and hardware intact.